Category
2 min to read
Last Update on 05 May 2026
How to Manage Fonts Category & Sub-category
Organize your font Categories & Subcategories so that customers can easily browse and filter for specific font styles.
How to manage existing font categories
To create/manage a category, follow the steps:
Step 1: Click the " Manage Categories option within the Manage Fonts feature.

Step 2: You can manage or edit the current categories. Each category row contains the following options:
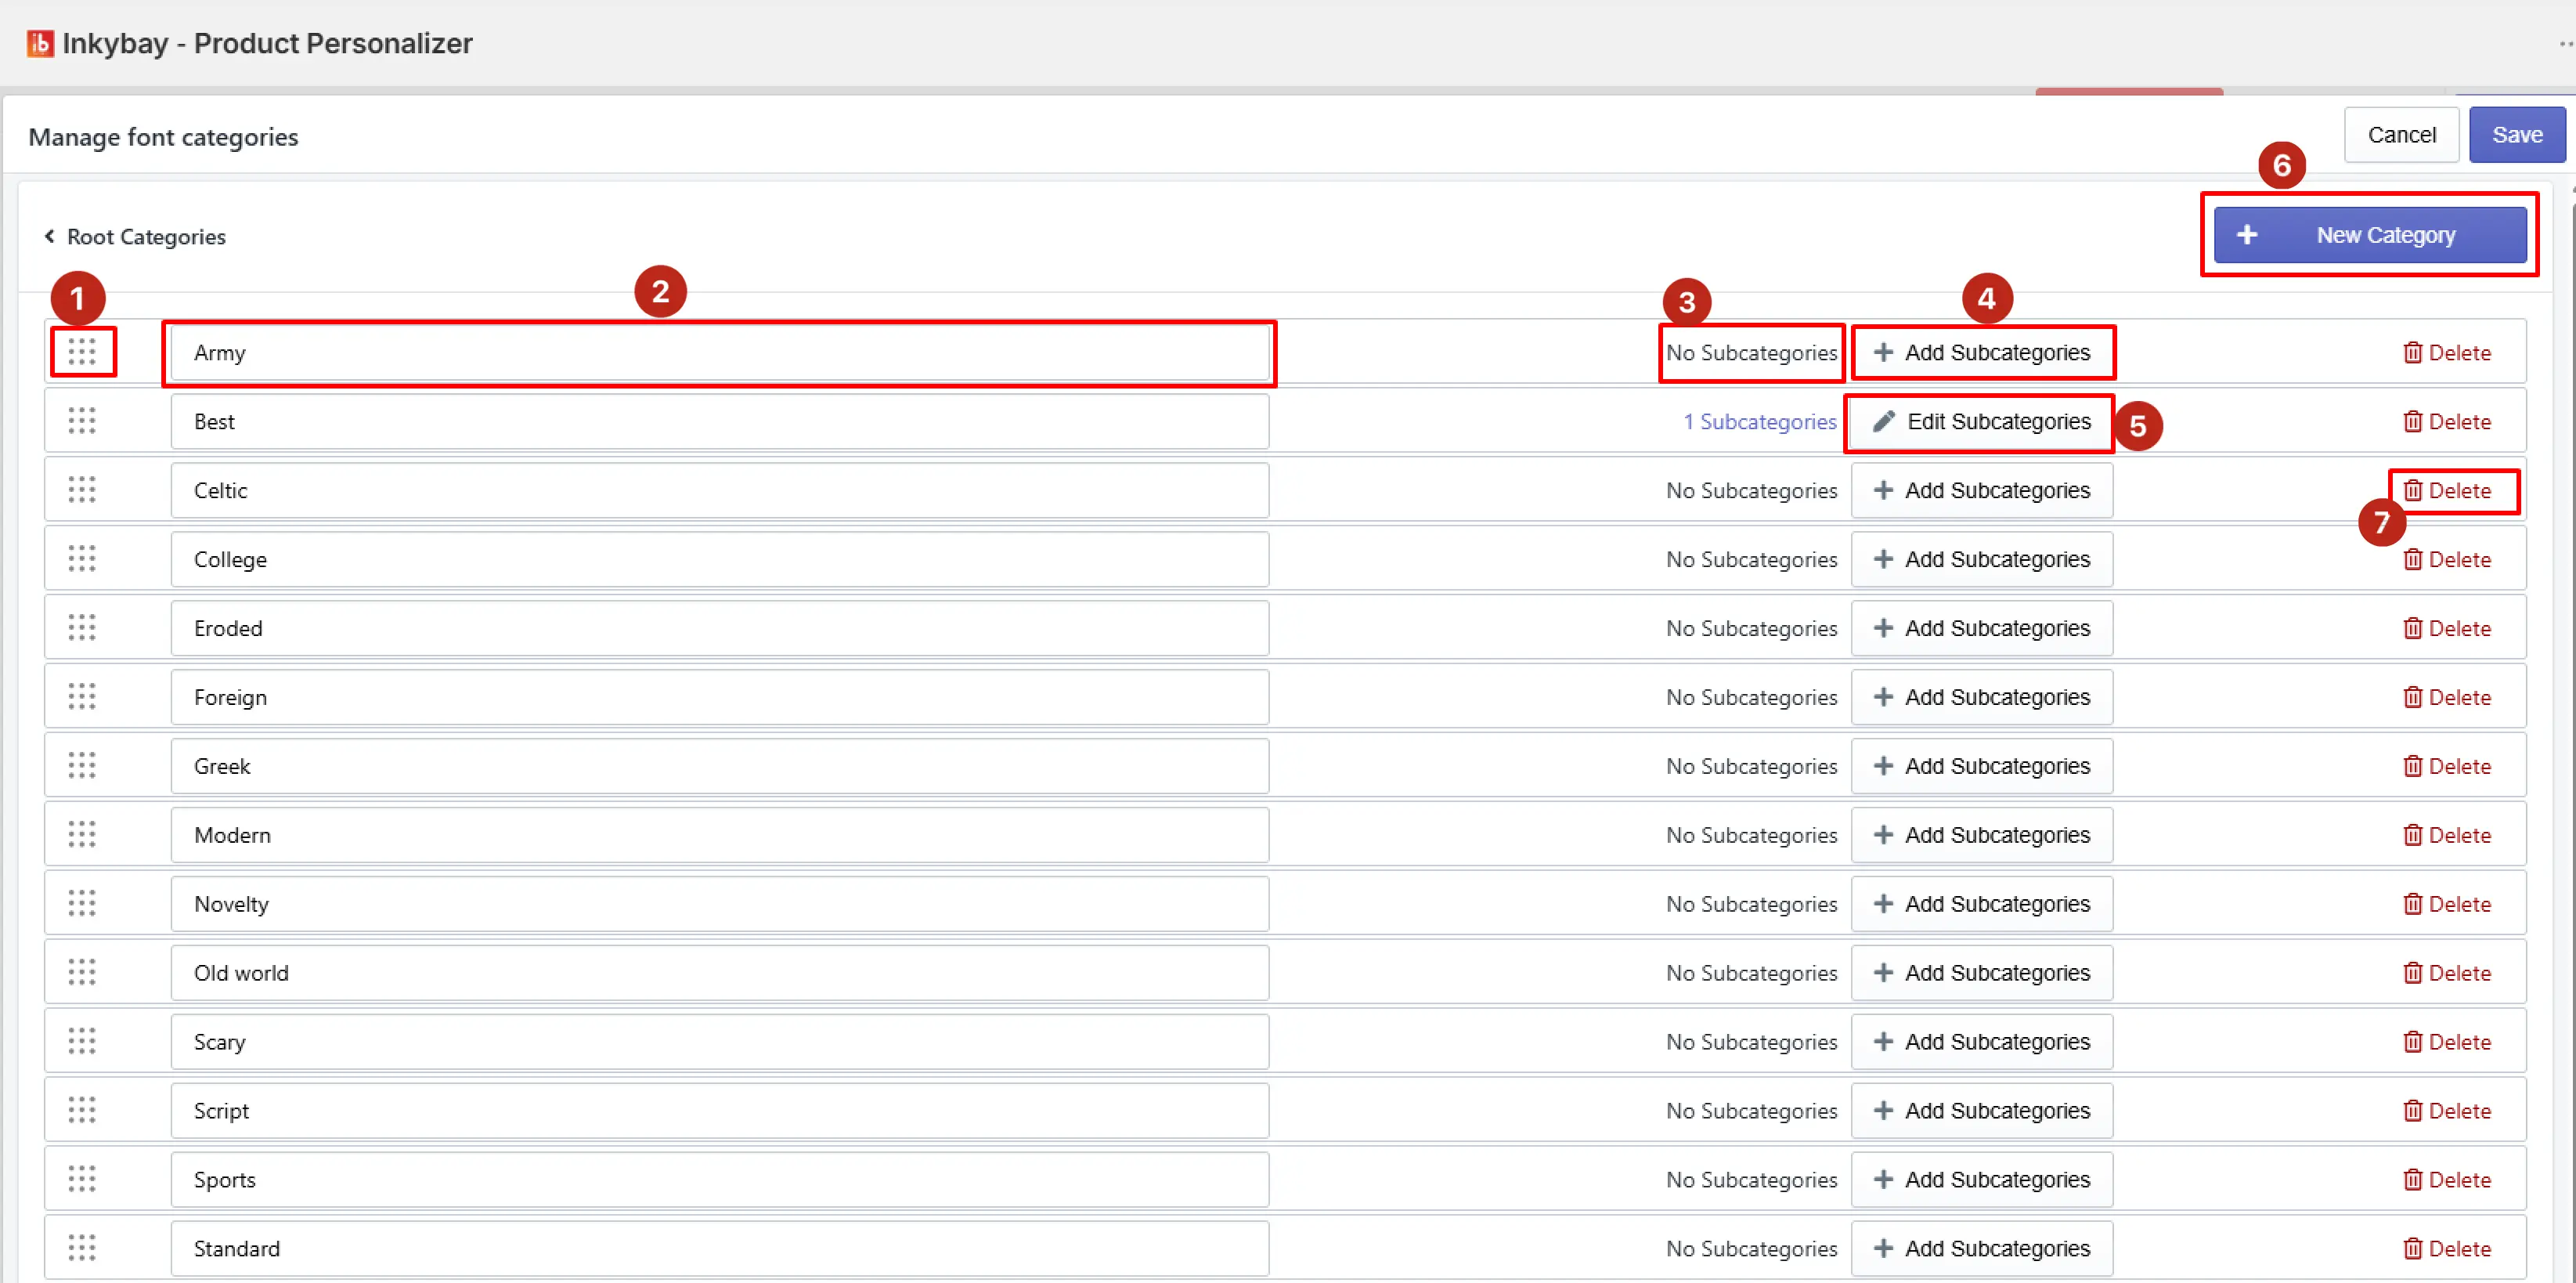
Reorder - Click and drag the dotted grid icon to reorder the category. The order set here determines the sequence in which categories will appear in the designer tool.
Category name field - Displays the existing category name. Rename it as your desired font.
No Subcategories - Displays the sub-category status of the individual category. Once a subcategory is added, the No Subcategories indicator updates to reflect the subcategory count, as the Army font category shows 2 subcategories.
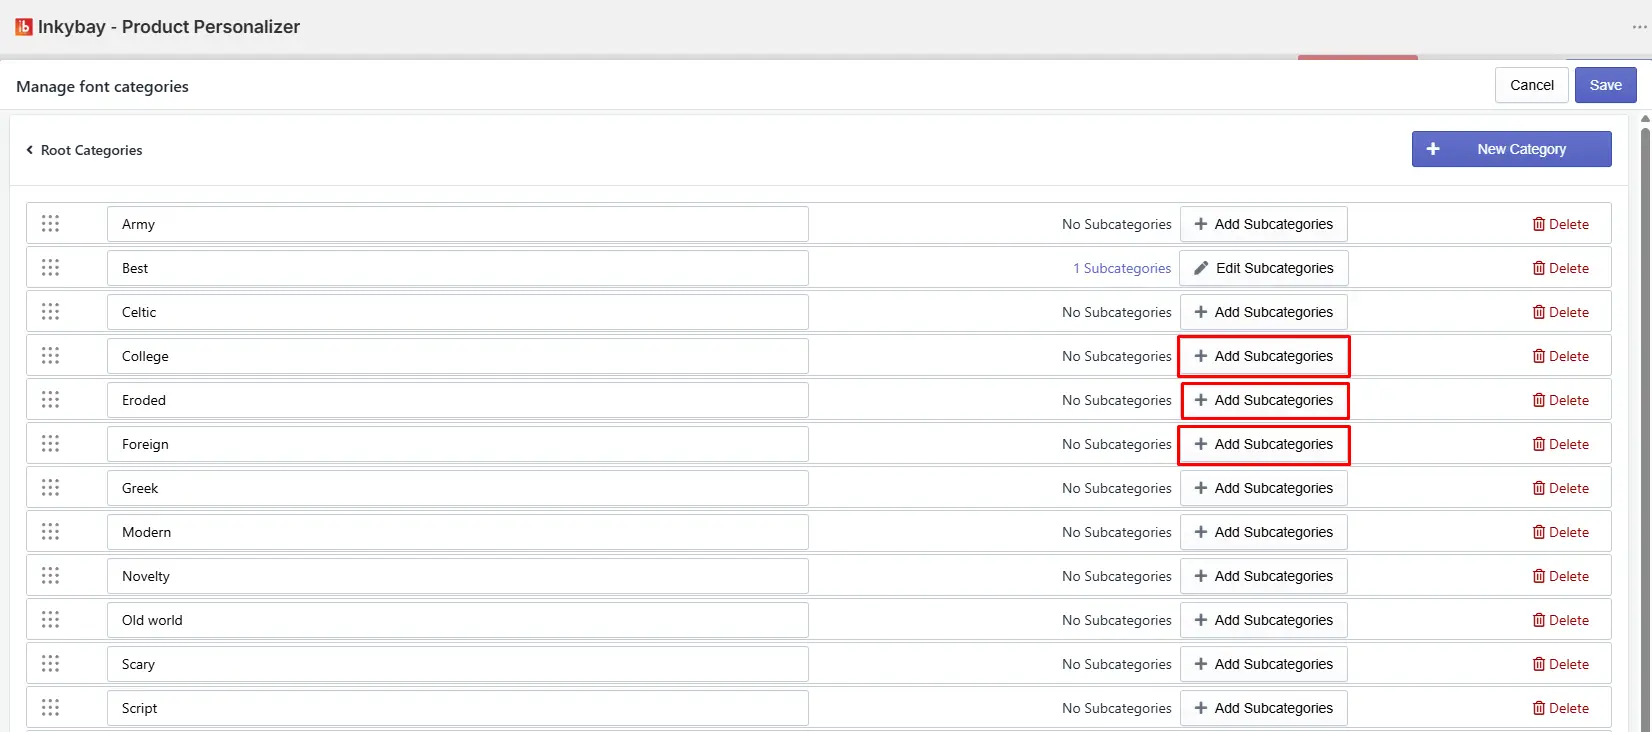
+ Add Subcategories - Click the button to create one or more subcategories under a specific category. [Note: Check out how to add a new subcategory section.]
+ Edit Subcategories - Click the button to edit your existing subcategories.
+ New Category - Click the button to add a new font category to your existing list.
Delete - Click the red trash icon to delete font category details.
Step 3: Click the Save button to save details.
How to add a new font subcategory
Step 1: Click + Add Subcategory within the Manage Font Categories panel.
Step 2:Enter all new subcategory details as highlighted in the image below:
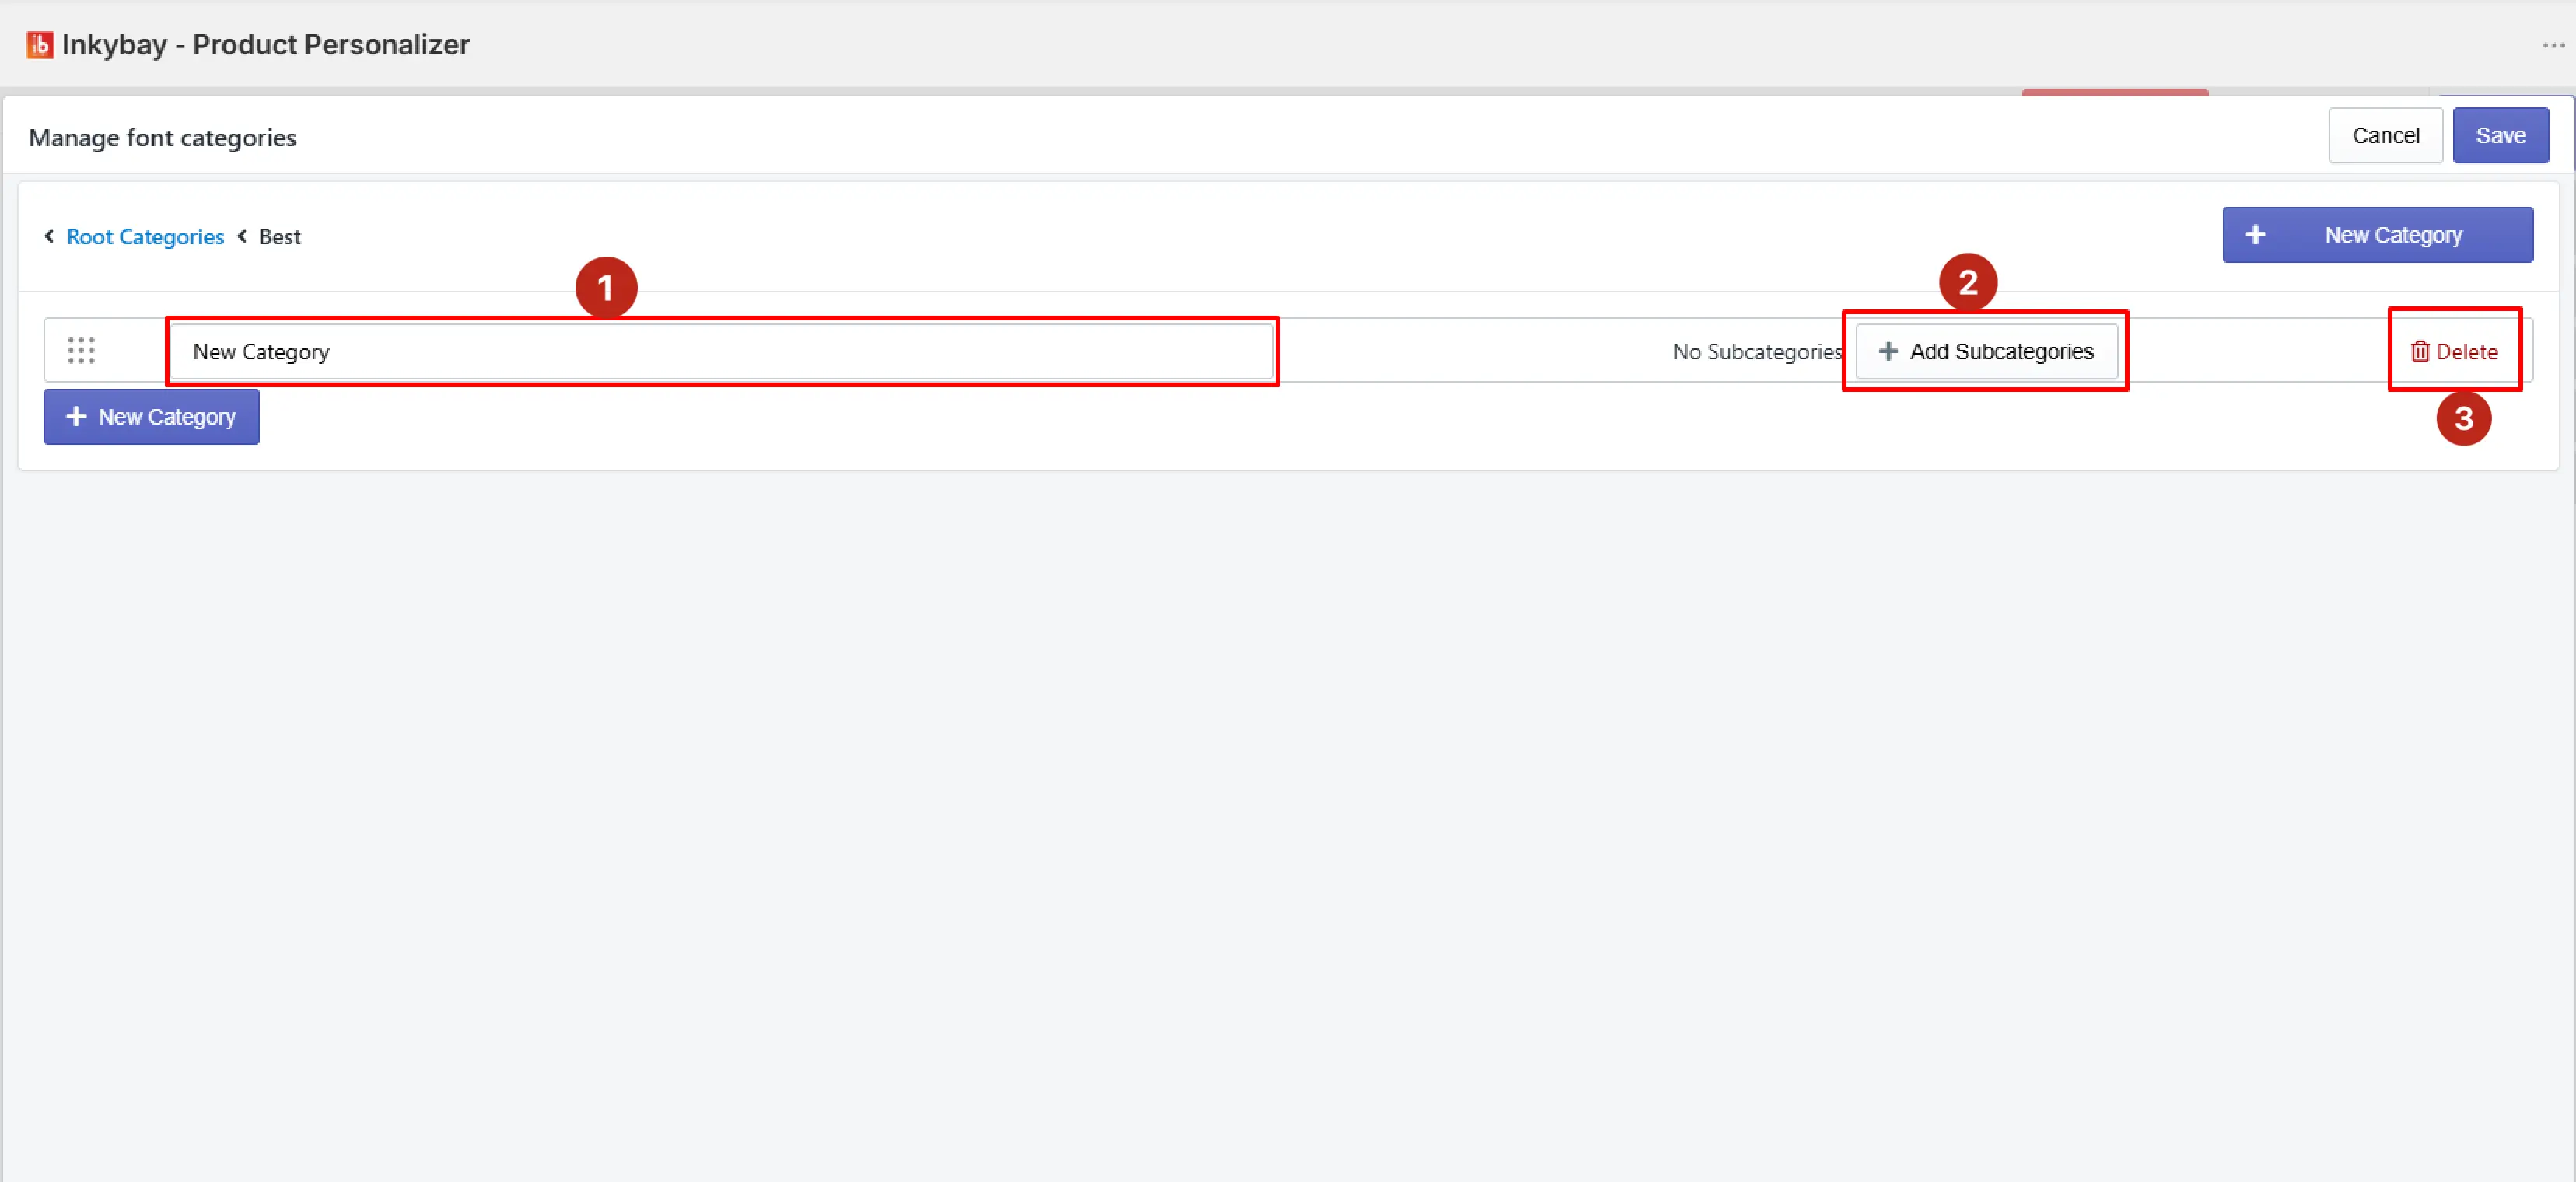
Enter name of font subcategory (e.g., Category: Animals & Subcategory: Tiger)
Add one or more subcategories (if any)
Delete (if you want to remove the new subcategory)
Step 3: Now, click the Save button to save all details.
Feel free to contact uswhenever you face any issues or need assistance. We’re available 24/7. You can also reach us:
InkyBay app Live chat
Support ticket from InkyBay app
Email to support@productsdesigner.com
Did this post help you?