Follow the steps below to install and configure the Add-Ons feature in your store:
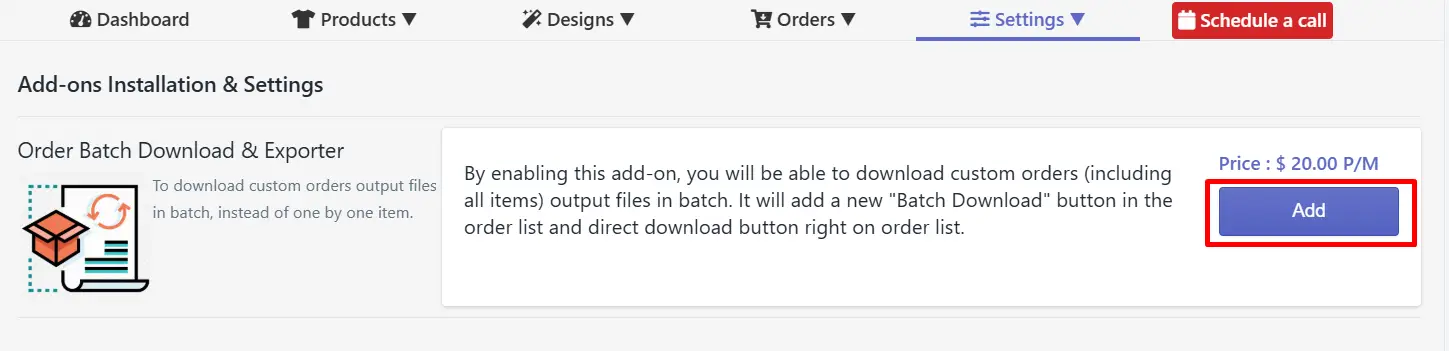
Step 1: Navigate to Settings and click the Add-ons button.

Step 2:Click on the “Add” button to activate the Add-ons in your store.
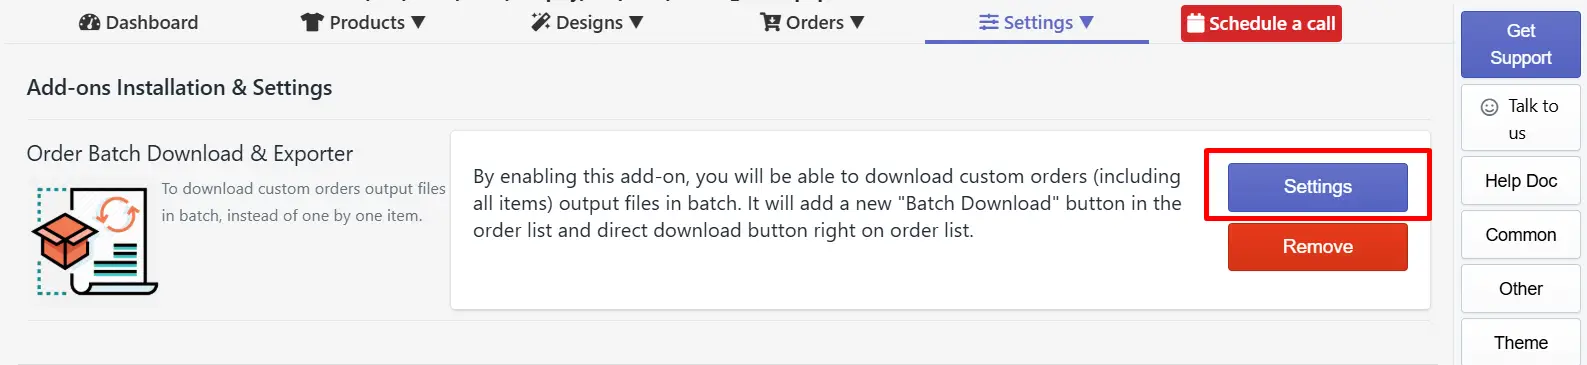
Step 3: After activating the Add-ons features in your store, click on the “Settings” button to view the Add-ons settings and configure them for your store.
Follow the steps below to batch download the order file in your store:
Step 1: Inside the Add-ons settings, set up the output file export format, Output file export DPI, and select whether you want the print file to be generated with a product background.
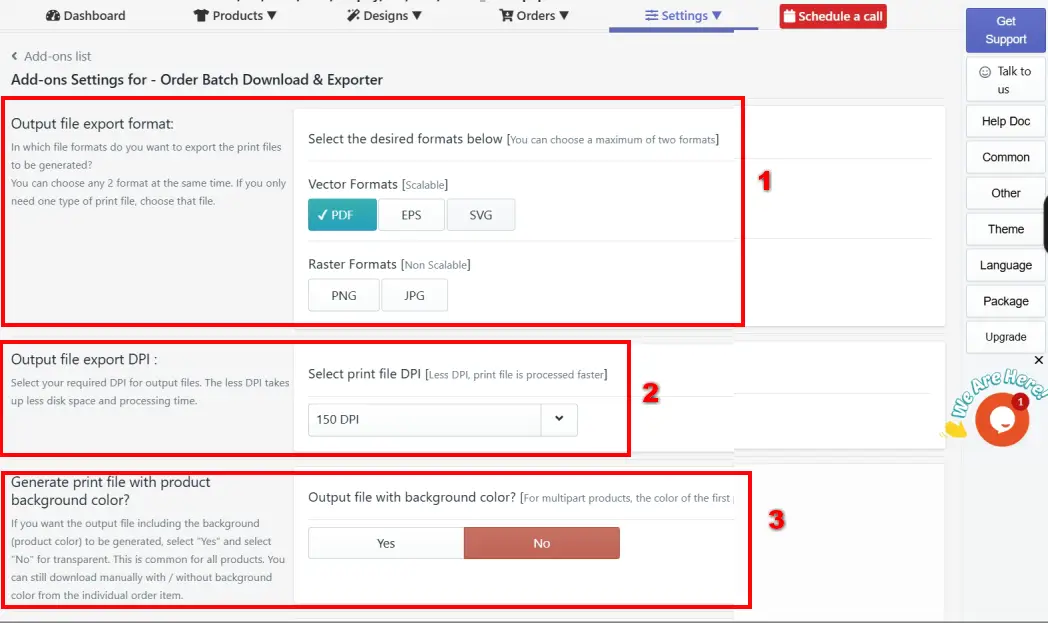
Output file export format: This section allows you to choose the file types for the print-ready design files, in which you want to export the order file. You can select a maximum of two formats at the same time.
In Vector Formats (Scalable), you have three options - PDF, EPS, and SVG. In Raster Formats (Non-Scalable), you have two options - PNG and JPG.
Output file export DPI: DPI stands for Dots Per Inch, which determines the resolution and clarity of the printed image. Higher DPI (e.g., 300) results in higher quality. Select your preferred DPI.
Generate Print With Background color: If you want the output file including the background (product color) to be generated, select "Yes" and select "No" for transparent. This is common for all products.
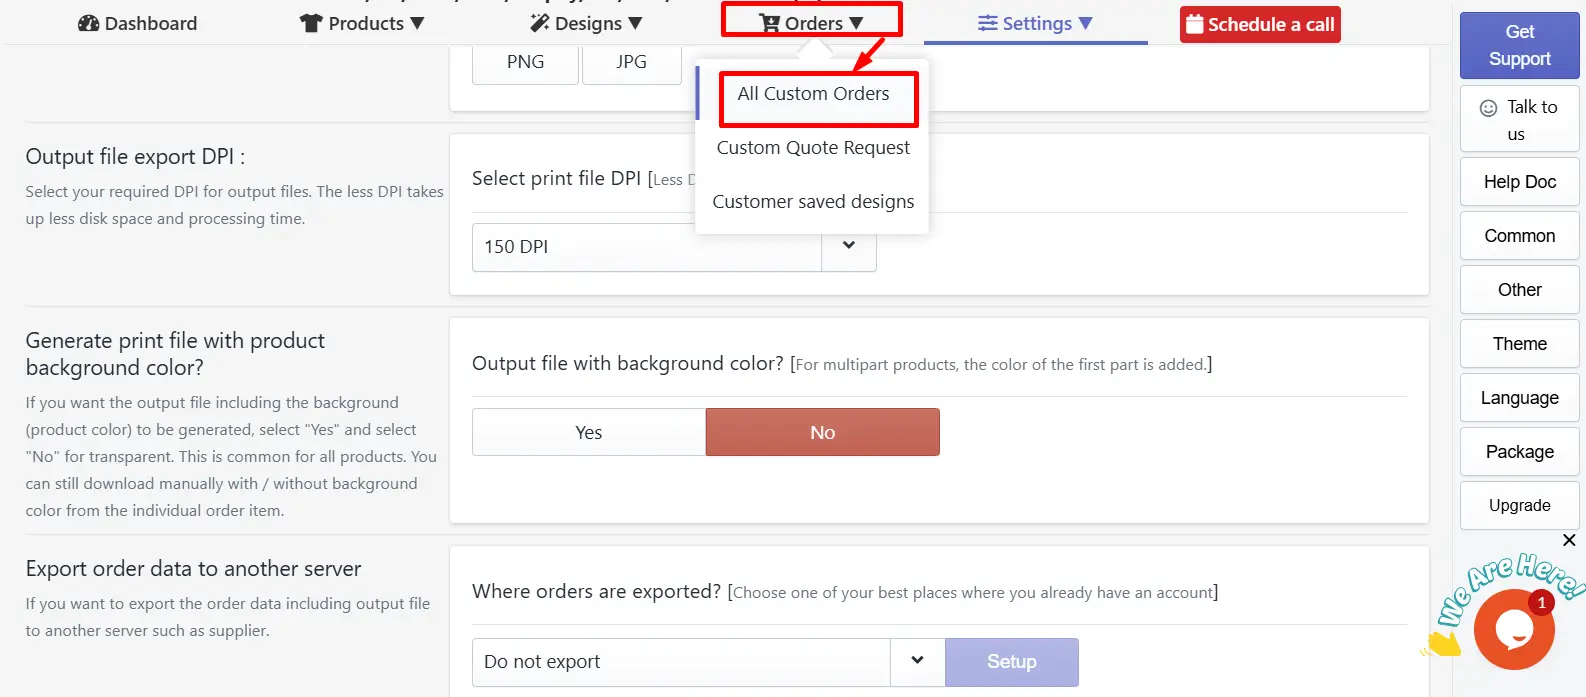
Step 2: Navigate to “order” and click on “All custom orders”.
Step 3: Access the order list and batch download the order file.
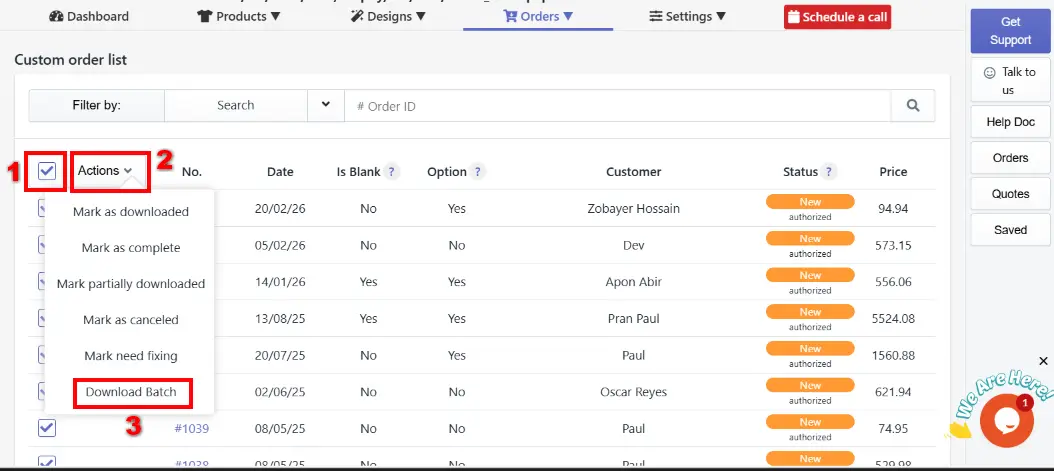
Click on the checkbox beside the “Action” section to select all the order files.
Click on the action dropdown to view the action list.
Click on the “Download Batch” button to download the order in a batch.
You can connect your Google Drive to easily export the order file through the Google Drive.
Follow the steps below to connect your Google Drive:
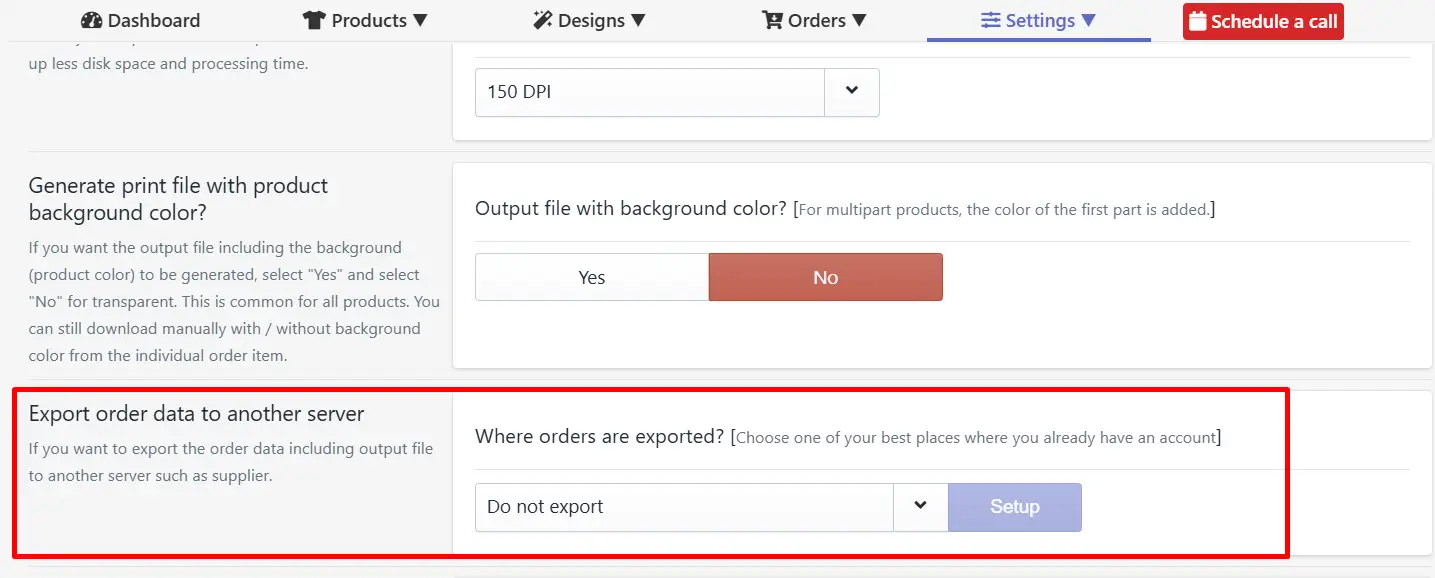
Step 1: Navigate inside the Add-ons Settings and scroll below to the option “Export Order Data to Another Server”.
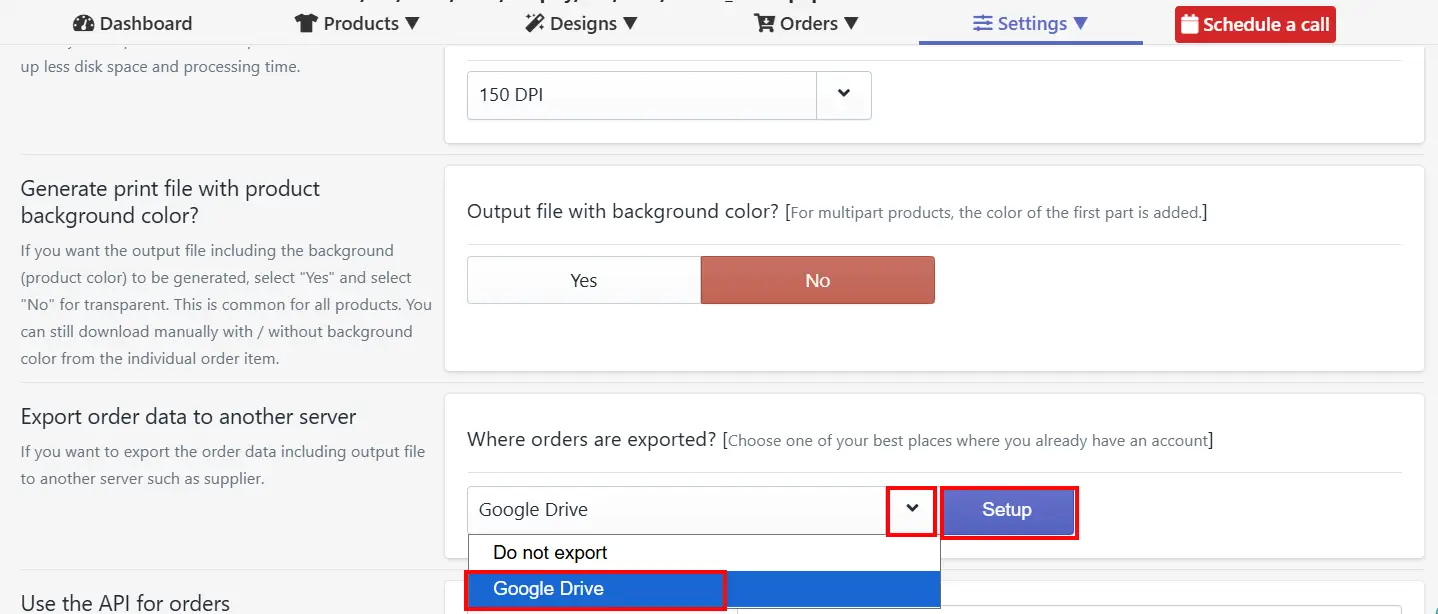
Step 2: Click on the drop-down icon, select the Google Drive option, and click on the Setup button.
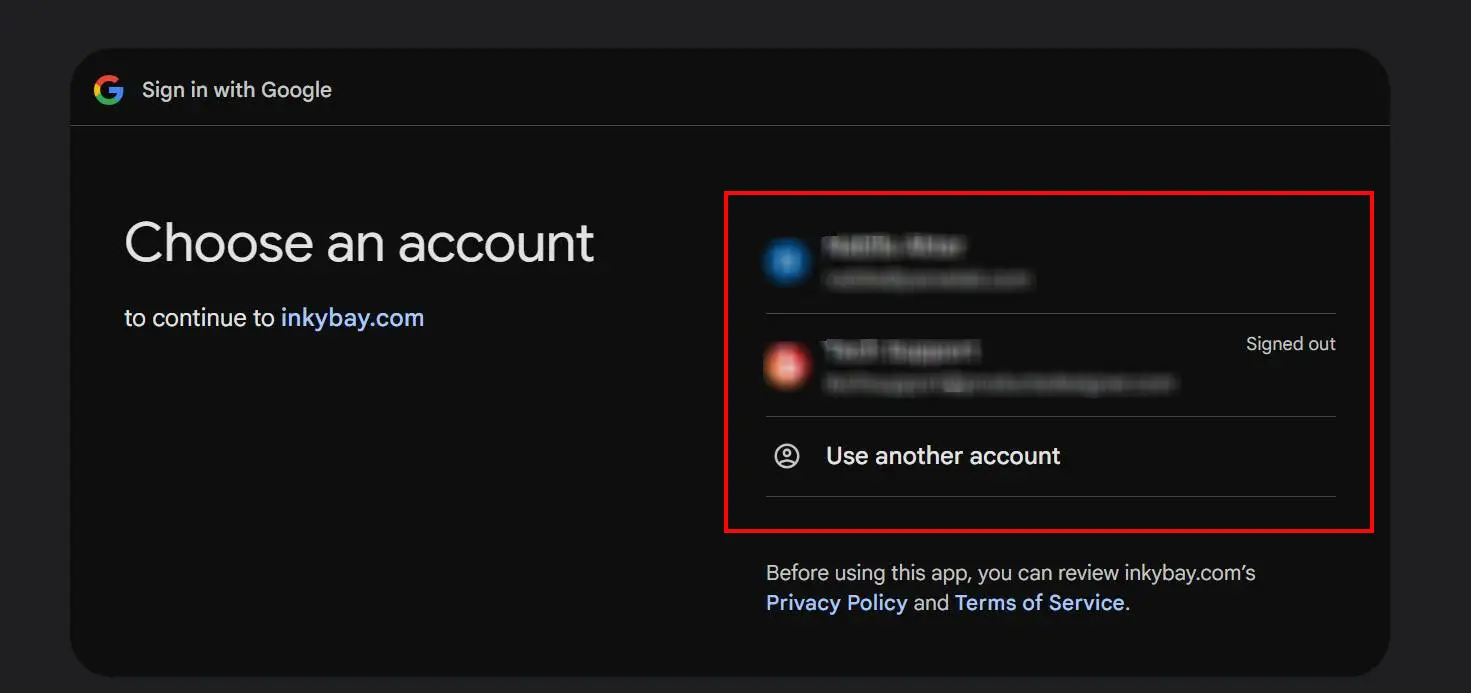
Step 3: Choose your Google account or add an account in which you want to get the Order file
Step 4: Your Google Drive will be connected to your store. Now go to your Google Drive and find the folder "InkybayShopifyOrders".
[Note: Once the connection is set up, all future orders will be automatically stored in your Google Drive. Please note that previously created orders will not be transferred. ]

Now you can easily access all the future orders of your store from your Google Drive's "InkybayShopifyOrders" folder.
If you want to export the order files to any other Zapier-supported platform, you can check out this article on Zapier Integration to know how you can integrate Zapier with Inkybay.
Still, facing difficulties or need help? Feel free to contact us. You can also reach us:
InkyBay app Live chat
Support ticket from the InkyBay app
Email to support@productsdesigner.com