InkyBay DocsInkyBay Docs
Submit a Ticket
shopify app store
  • Visit InkyBay Website
  • Privacy Policy
  • Terms of Service

© 2026 InkyBay. All rights reserved.

Powered by

ParseLab, LLC
  • category-iconGetting Started
  • category-iconProducts
  • category-iconDesigns
  • category-iconTemplates
  • category-iconConfiguration
  • category-iconPrinting
  • category-iconOrders
  • category-iconInventory Management
  • category-iconSettings
  • category-iconPackages
  • category-iconUninstallation
  • category-iconTutorials
  • category-iconFAQ
Category
  • category-iconGetting Started
  • category-iconProducts
  • category-iconDesigns
  • category-iconTemplates
  • category-iconConfiguration
  • category-iconPrinting
  • category-iconOrders
  • category-iconInventory Management
  • category-iconSettings
  • category-iconPackages
  • category-iconUninstallation
  • category-iconTutorials
  • category-iconFAQ
Configuration-icon Configuration
Create a Custom Product
1 min to read
Last Update on 06 May 2026

How to Set Up a Custom Print Area

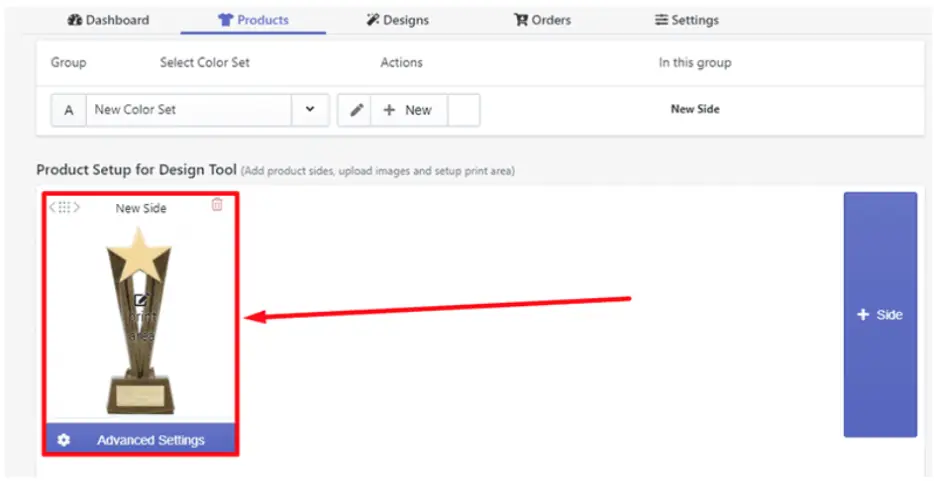
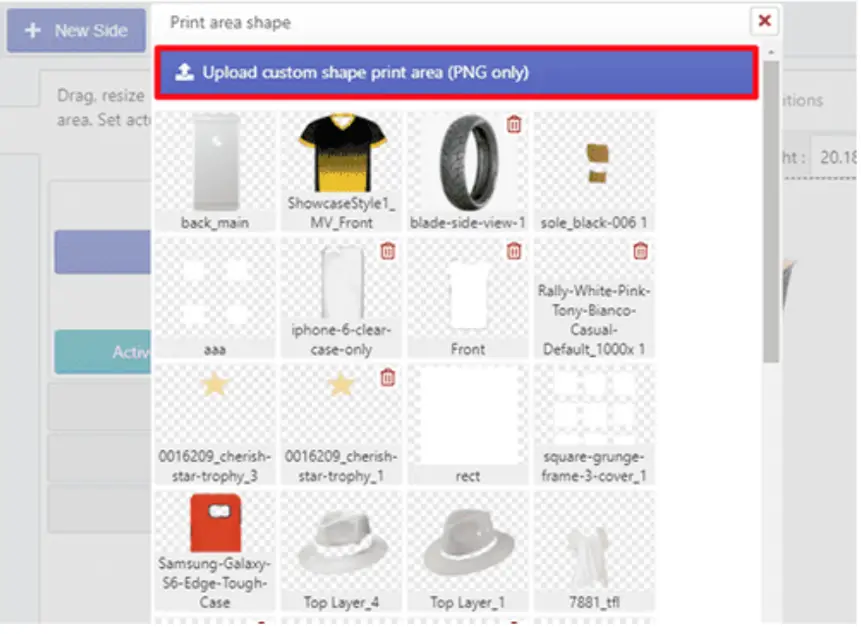
If you’ve products that require a custom shape print area like rectangular, star, polygonal, or others, you can set them up easily. 


Follow the steps below to set up custom print area in your product:


Step 1: Access a custom product and scroll down to the Advanced Settings


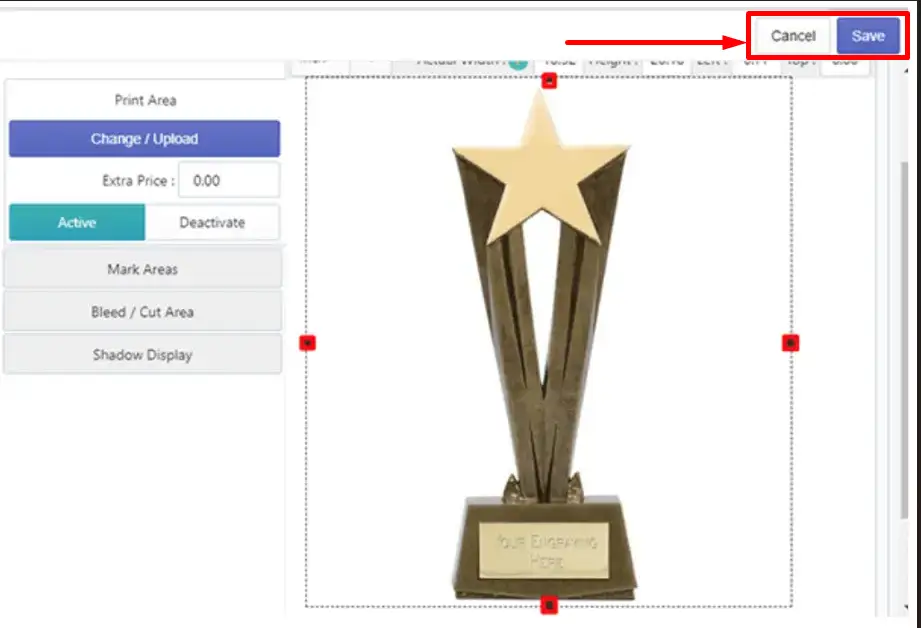
Step 2: Select Print Area and click the Change/Upload button.


Step 3: After that, upload your custom product shape print area as a transparent PNG image which is created by any photo editors (Photoshop).


Step 4: Adjust your uploaded custom shape print area over your product image. 


Step 5: All is set and now click the save button.


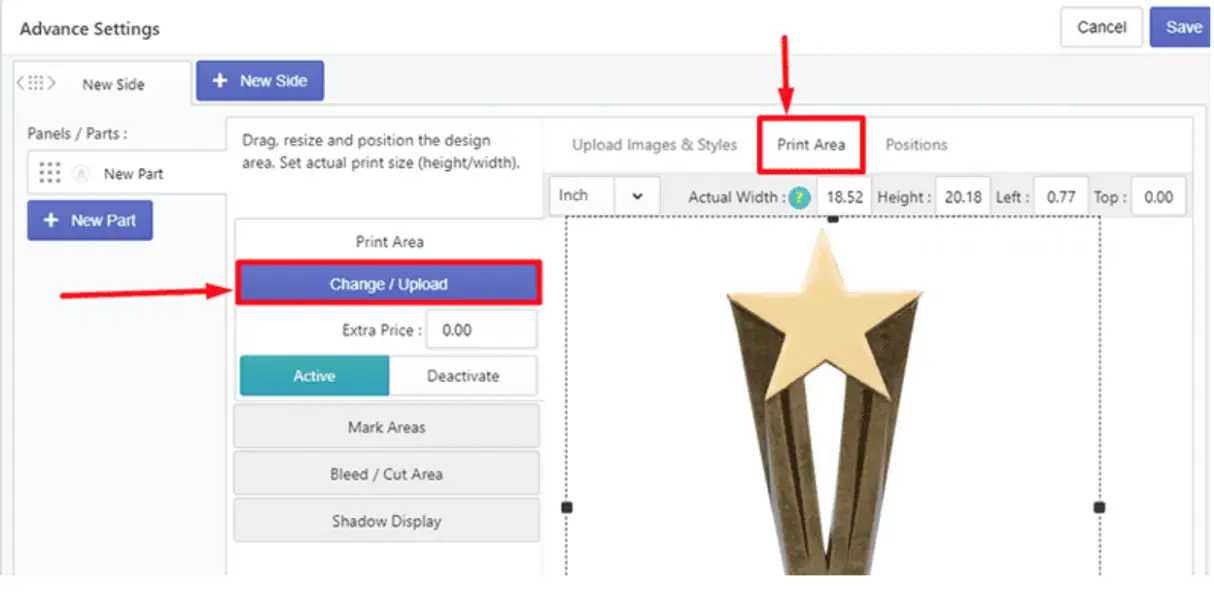
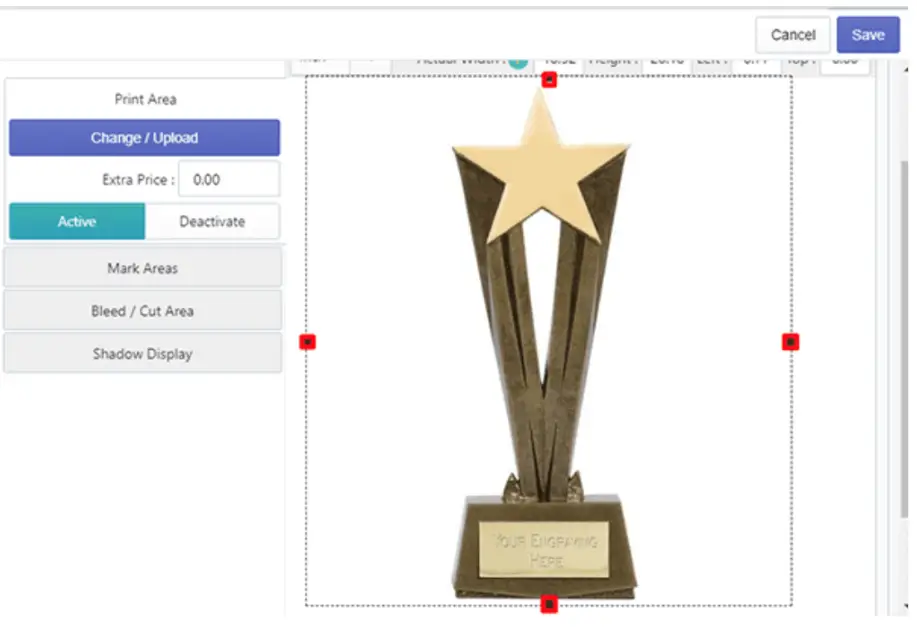
🎯Note


Set DPI warnings (up to 300) to ensure high-quality prints if designs are placed too far outside the safe zone.


Still, facing difficulties or need help? Feel free to contact us. You can also reach us:


  • InkyBay app Live chat 

  • Support ticket from InkyBay app

  • Email to support@productsdesigner.com


Did this post help you?
Previous article
How to Set Up Print, Bleed, and Mark Area
Next article

Set Up Dynamic Prices for Print Areas and Styles

Related Articles

  • How to Create a Custom Product
  • How to Create Custom Product Images
  • How to Set Up Print, Bleed, and Mark Area
  • Set Up Dynamic Prices for Print Areas and Styles
  • How to Set Up Product Styles
  • How to Set Up Product Sizes
  • How to Add Extra Price for Sizes
  • How to Set Up Product Colors
  • How to Add Extra Price for Colors